Basic Controls – Switches
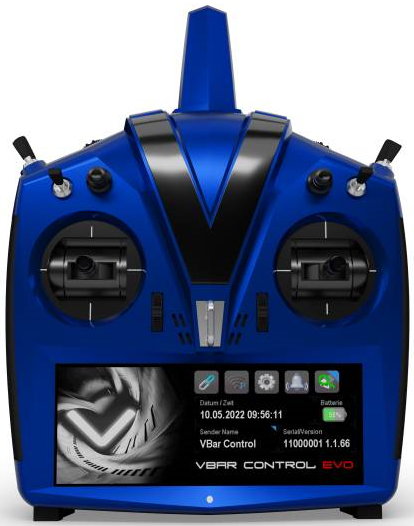
When flying you only really use the two main control sticks on your transmitter. The vast majority of additional switches, buttons and dials can be ignored for now with the exception of the motor on/off or throttle hold as it is known, and the flight mode switch also known as bank switch.
Bank Switch – The bank switch usually provides 2 or 3 switch positions each corresponding to different configurations that come pre-configured on Ready to Fly (RTF) helicopters. Typically, the configurations are for head speed (main rotor RPM), agility and responsiveness.
You could for example have bank 0 configured for a beginner, bank 1 configured for sport flying (basic acrobatics), and bank 3 as hard acrobatics or 3D as it is known.
As a beginner, you need to know which switch is your bank switch to ensure it remains in bank 0 or the lowest position available.
If you consider that flight times are entirely governed by battery capacity, and the biggest drain on battery capacity is head speed (main rotor RPM), you can start to see why having bank switches are useful beyond the function of beginner, sport, and 3D configurations or banks.
Throttle Hold -The throttle hold switch is critical for 3 reasons. It allows you to connect your helicopter battery and ensure your helicopter will not spool up (rotors start spinning and building up to full speed) if your control stick is accidently moved or knocked. It is used in all emergencies to incapacitate your heli. It is used when a crash or impact is imminent to minimise damage and prevent your heli post impact doing the “Funky Chicken” on the floor as it is affectionally known.
It is important to note that many basic, and just about all the advanced or next level transmitters are 100% configurable and any switch can be manually assigned to any function. If as a beginner you purchase a Ready to Fly (RTF) helicopter, read the instructions and understand where both the bank and throttle hold switches are before you do anything.
Please be aware that all switches are generally assignable, please always double check where the bank and throttle hold switched are assigned on your specific transmitter.
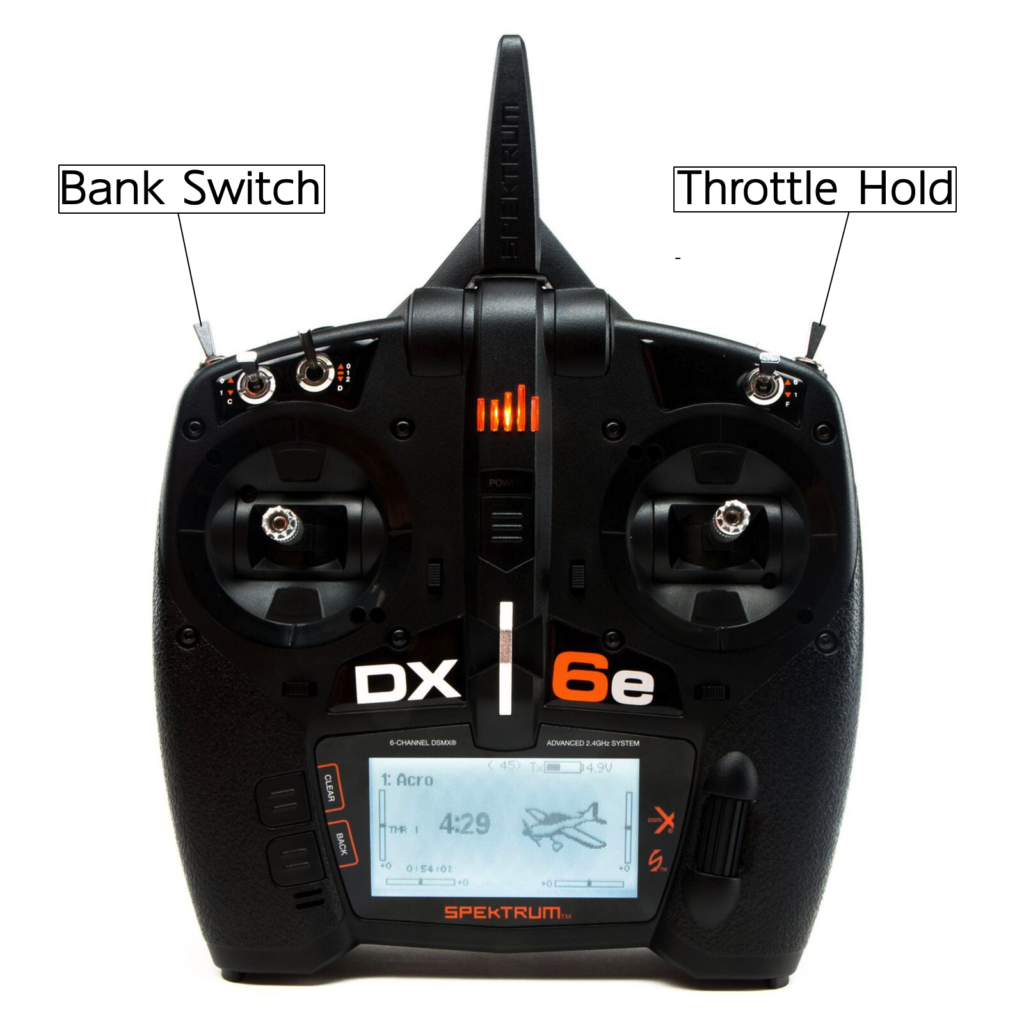
*Please be aware that all switches are generally assignable, please always double check where the bank and throttle hold switches are assigned on your specific transmitter.
Switch Summary– Identify and familiarise yourself with the use of your bank and throttle hold switches.
Basic Controls – Control Sticks
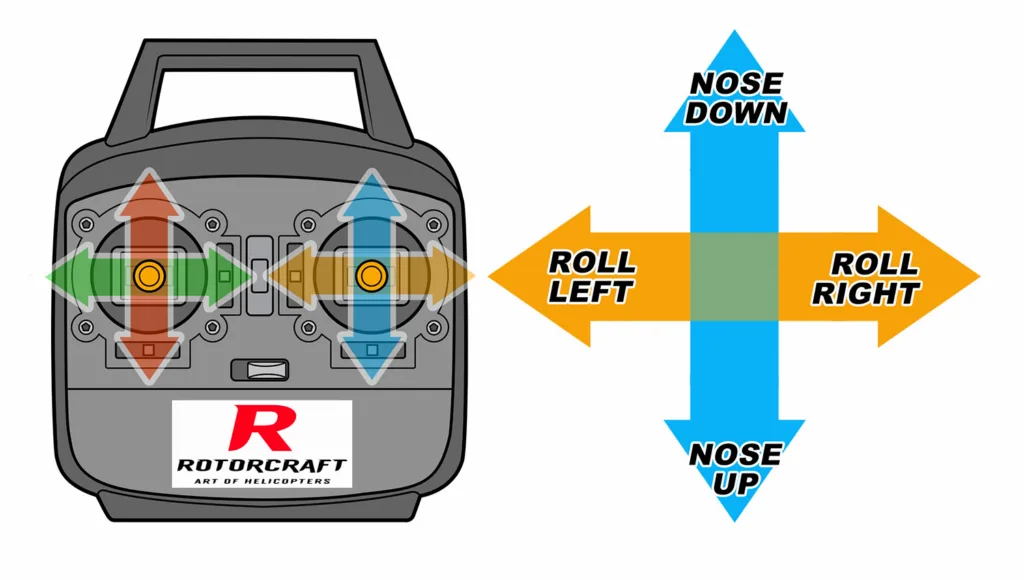
The animation below shows what effect moving each stick on your transmitter will have on your helicopter.

The only input missing from the above is the left stick pushing up and down which is the collective input which is shown below.
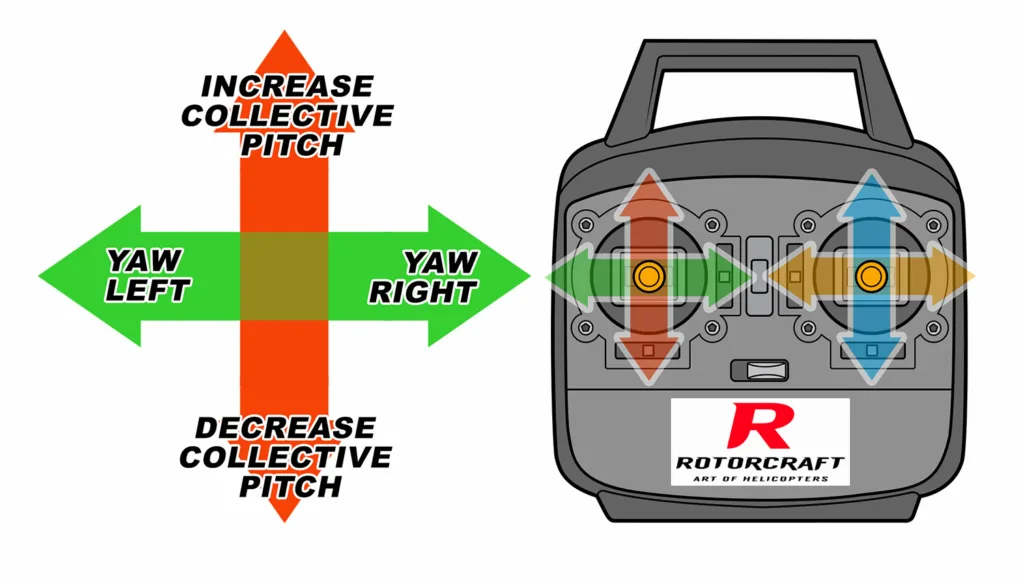
In the simplest of terms, in level flight, the collective input will cause the helicopter to go up and go down, gain or lose altitude. Push the stick up or forward to gain altitude and make the helicopter go up and push the stick down to lose altitude and make the helicopter go down. To achieve this, the collective control determines the pitch or angle of the main rotor blades.
If you have watched our art of the possible videos, you will know that RC helicopters can do a great deal more than just go up and down. A collective pitch helicopter can fly upside (inverted) and hover on the spot by tilting its main rotor blades in to a negative angle for example an angle of minus 12.5 degrees. This is the fundamental difference between a fixed pitch and a collective pitch helicopter. Fixed pitch helicopters cannot hover upside down as the pitch of the blades is fixed. Altitude on a fixed pitch helicopter is still controlled using the left stick, however, the left stick simply controls the throttle or speed of rotation of the main blades. A fixed pitch helicopter is still capable of basic acrobatics such as loops and roles but not capable of inverted hoving. This is the key difference between the two categories under the equipment needed section Basic Budget Beginner (Fixed Pitch) & Adventurous Ambitious Apprentice (Collective Pitch).
If you are looking for advice on your first RC helicopter, please visit our equipment needed page.
